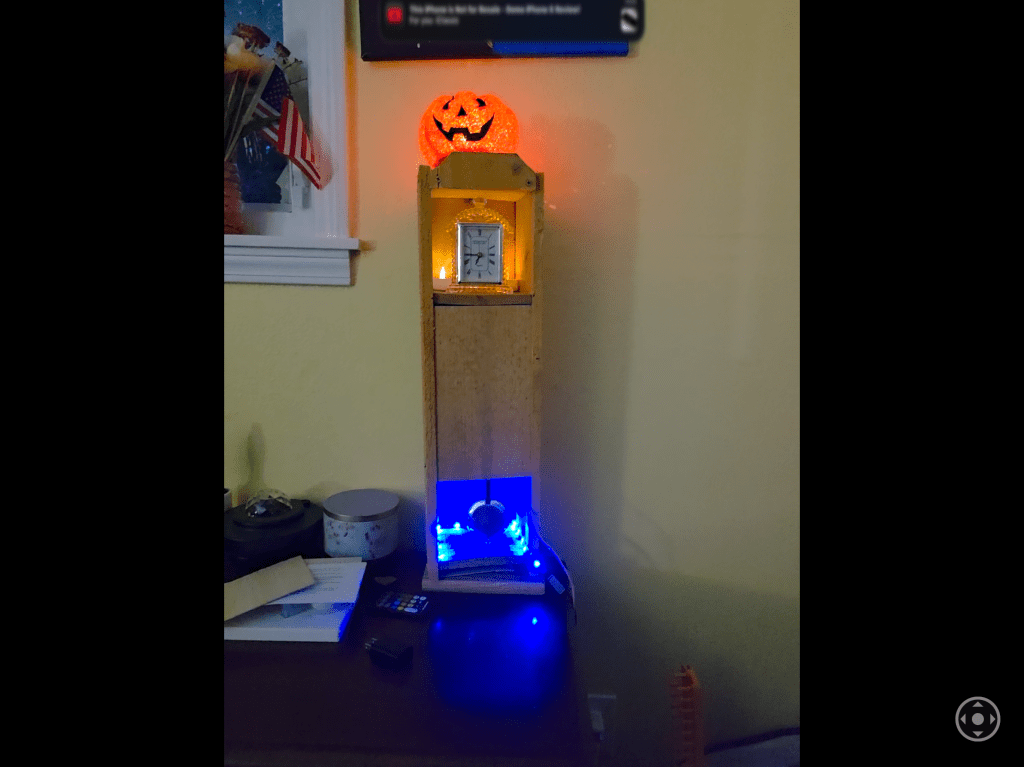
this mini grandfather project is sure to impress anyone who sees it. Please note that this project takes quite a while. From building the structure to ordering the parts to assembling and finishing, you’re sure to busy for a couple of weeks or even a month with this one. Below is a video of the half-finished product.
Thank you for your response. ✨

Mini grandfather clock instructions
have you ever wanted to make a mini grandfather clock? If so, you’ve come to the right place. This project is for inthusiasts who love everything clocks. This is not a one-day project. It will keep you busy for many days.
YOU WILL NEED:
- 4 2-foot by 8 inch lengths of wood, smooth is better
- a drill
- screws
- table saw
- other wood working tools
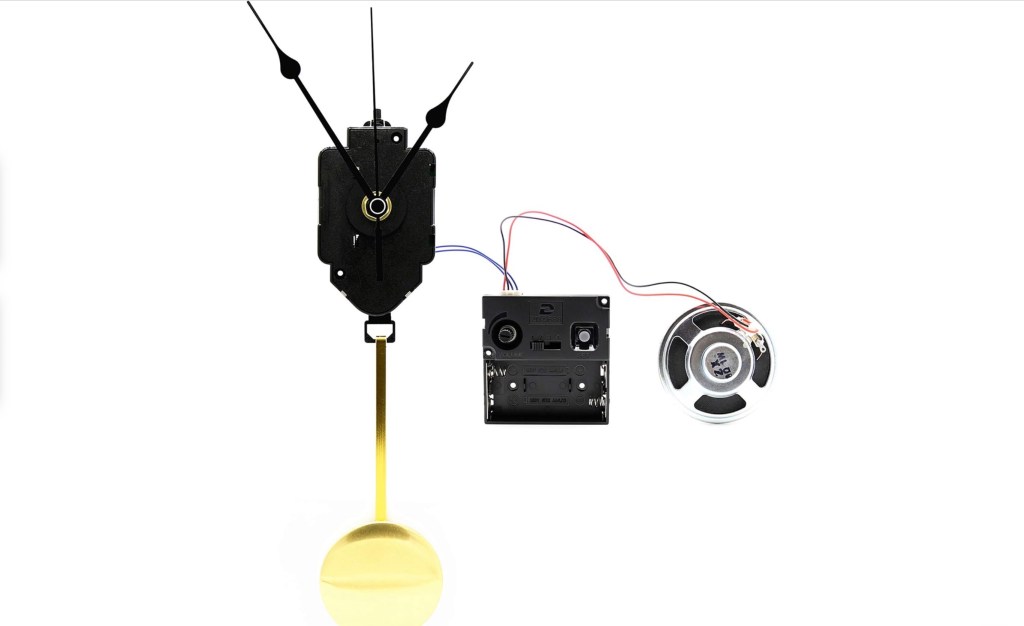
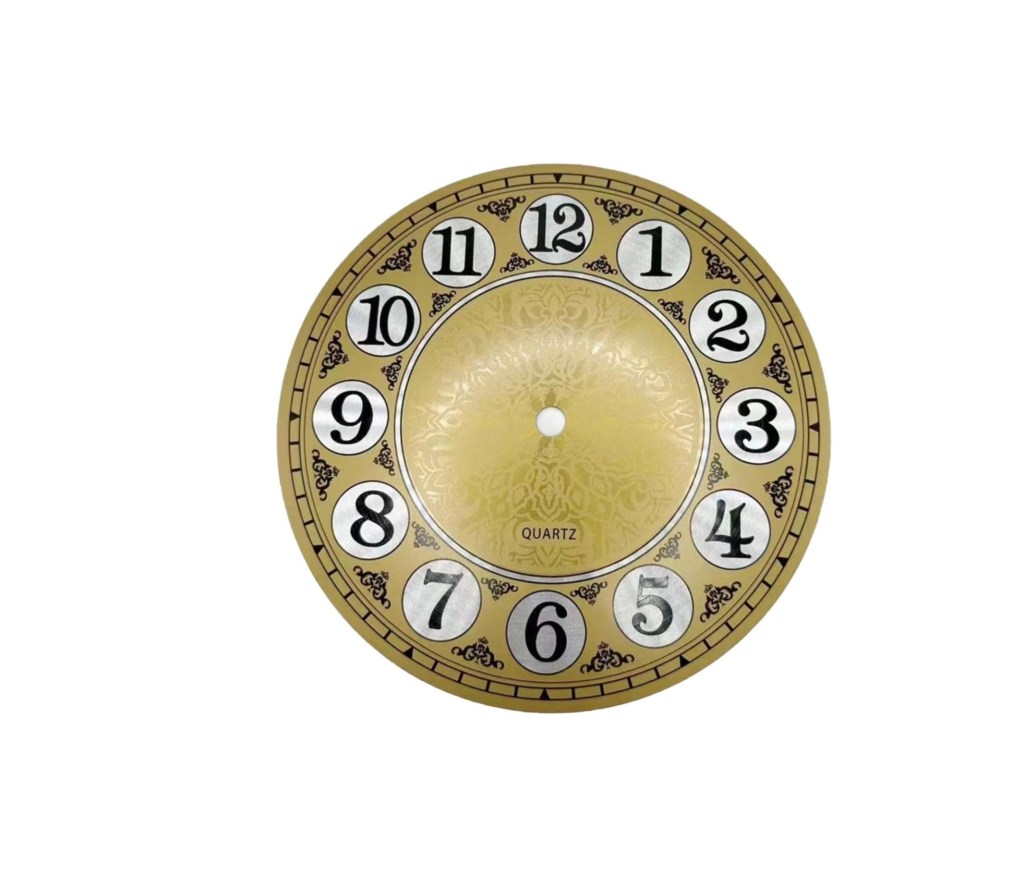
clock parts
here are a few options for clock parts, depending on how simple or complex you want your clock. Have fun with this one.
Note: all of these clock parts are from amazon. Links and images are provided below.
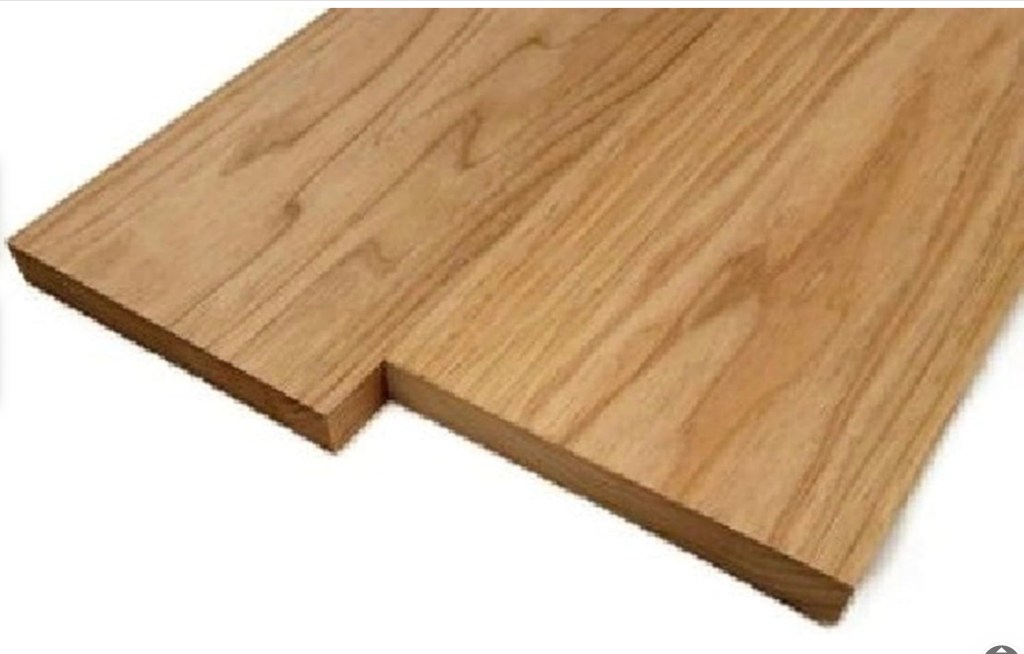
this is totally up to you. Choose the best wood for your preferences. The wood i used was wood from fence posts that we had leftover from our fencing project. There are so many possibilities.